
https://nginx-develop-nfsa2.govcms7.amazee.io/sites/default/files/2024-04/Singoring%201000x745.jpg


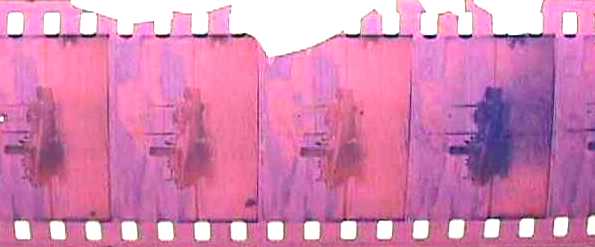
Perforation damage can be from one or two broken perforations to whole sections missing. The amount of repair required depends upon the printing machine.
 https://nginx-develop-nfsa2.govcms7.amazee.io/sites/default/files/uploads/2010/09/17/perforation_damage.jpg
Perforation damaged film that is run through printers that print material at high speeds will require more repair than if run through printers that have been modified to handle shrunken, fragile material.
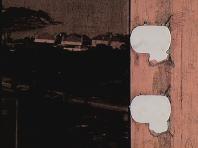
If the cracks/nicks run toward the head then choose to print from the tail, as the printer will exert more pulling action on the ‘strong’ side of the perf.
 https://nginx-develop-nfsa2.govcms7.amazee.io/sites/default/files/uploads/2010/09/17/crows_feet_nicks.jpg
 https://nginx-develop-nfsa2.govcms7.amazee.io/sites/default/files/uploads/2010/09/17/crows_feet_holes.jpg
 https://nginx-develop-nfsa2.govcms7.amazee.io/sites/default/files/uploads/2010/09/17/crows_feet_broken_perforations.jpg
(N.B. this applies to crows feet that do not extend more than half way toward the next perf, in this case the perforations would need repair and once again it must be determined which edge needs less time and effort to fix).
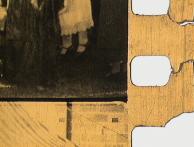
Techniques used by the NFSA to repair crows feet:
| Holes | Tape emulsion and base of the drive side perforations |
| Broken through | Tape on base only of drive side perforations |
| Half way broken | Tape on base of drive side if breaks are running opposite to printer direction |
| Nicks | Ignore if tiny and the film is not brittle |
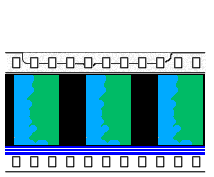
Film bridges are used when there are more than four consecutive perforations missing or broken. The following steps are used by the NFSA to do film bridges:
1. Find a piece of scrap film with the same degree of shrinkage as the film you need to repair, also ensure it has the same type of perforations.Cut a patch two perforations longer (at both ends) than the section needing repair.
2. Trim off most of the film outside the perforations on one edge.
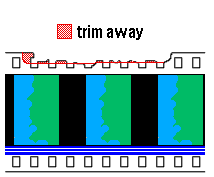 https://nginx-develop-nfsa2.govcms7.amazee.io/sites/default/files/uploads/2010/09/21/trim_away.gif
3. Place the film emulsion down on a thickness of several sheets of paper on a bench. Lay the patch on top of it, emulsion up, so that the two base surfaces come together and the bulk of the patch piece is protruding out the side of the film, not lying on top of it; only the perforated parts of the patch and the film are overlapping.
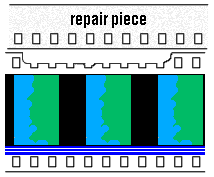 https://nginx-develop-nfsa2.govcms7.amazee.io/sites/default/files/uploads/2010/09/21/repair_piece.gif
4. Cement together in steps as for a join, starting at one end and cementing anchor points every second frameline over the length of the bridge and at the end.
 https://nginx-develop-nfsa2.govcms7.amazee.io/sites/default/files/uploads/2010/09/21/cement_together.gif
5. Trim off the surplus part of the patch.
 https://nginx-develop-nfsa2.govcms7.amazee.io/sites/default/files/uploads/2010/09/15/bridge.gif
Tape bridges are used when four or less consecutive perforations are damaged or missing.
Cut a patch of splicing tape one perforation longer at each end than the section needing repair, eg: five perfs of splicing tape is needed to repair 3 perforations. Small pieces of tape are fiddly to handle, so peel off a little of the tape from the roll and temporarily attach it to a piece of scrap film. The tape patch can then be manoeuvered by holding this piece of film which can be peeled off when the tape patch is attached. Trim off surplus as for a bridge. Only very short lengths can be patched with tape as it is perforated to standard pitch, while the film is shrunk and the two will not match nearly enough over more than about four perforations.
 https://nginx-develop-nfsa2.govcms7.amazee.io/sites/default/files/uploads/2010/09/21/tapebridge.jpg
The National Film and Sound Archive of Australia acknowledges Australia’s Aboriginal and Torres Strait Islander peoples as the Traditional Custodians of the land on which we work and live and gives respect to their Elders both past and present.